

Environment Setup
Authors: Michael Cunningham, Ji Hoon Hyun, and Dr. Dong S. Ha
In this section you will learn how to setup your environment, create a library, and set up a schematic/cell view.
Environment Setup
- Connect to the CVL:
1. Run Xming
2. Run putty.exe
3. Load your saved CVL session.
4. Enter your CVL ID and password.
(Alternatively, you can use MobaXterm)
NOTE: In the Linux terminal, when you enter your password nothing will be displayed (for security reasons), but the characters are being entered.
- Before you can proceed, your username must have been added to the directory to access it. Your instructor will provide you information on what you need to do to be added.
- On the first time accessing the CVL, you need to add the class directory to your $PATH and save it in your login shell so that the location can be found on login. The automatic script below performs the action and adds the line “export PATH=$PATH:/home/ece4220/bin” to the file ~/.bash_profile. You may remove the line at the end of the semester. Type or paste the following into the terminal:
NOTE: To paste in the terminal, right click at the prompt. If this doesn't work, check your PuTTY selection settings. (To copy within the terminal, highlight the desired text.)
Terminal Code (case sensitive): /home/ece4220/bin/first-time

- From now on, every time you start PuTTY and connect to CVL, you will need to type cdsprj to change to class project folder.

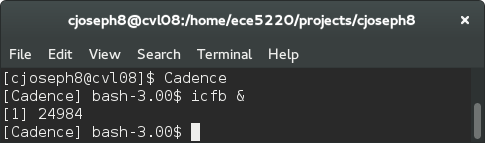
- Run the "Cadence" alias command to set up environment variable and then run Integrated Circuit Front-to-Back, "icfb &", to start Cadence Virtuoso. The icfb window is the main Cadence window and also serves as the console where error messages appear (known as the command interpreter window (CIW) in newer versions).
Create a Library
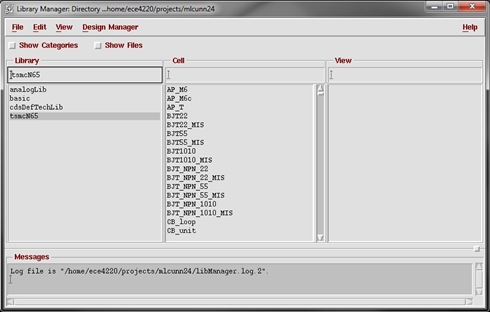
- Once you have the icfb windows open, select Tools → Library Manager to bring up the Library Manager. Make sure tsmcN65 is in the list of libraries.
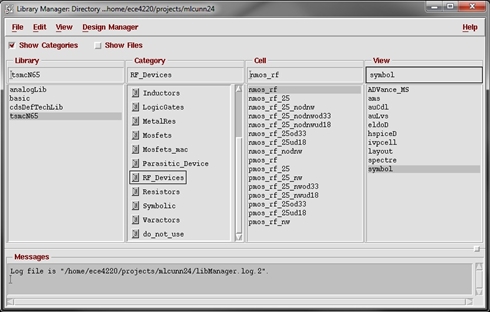
- If you want, you can enable "Show Catagories" to see devices listed by category under the technology file.
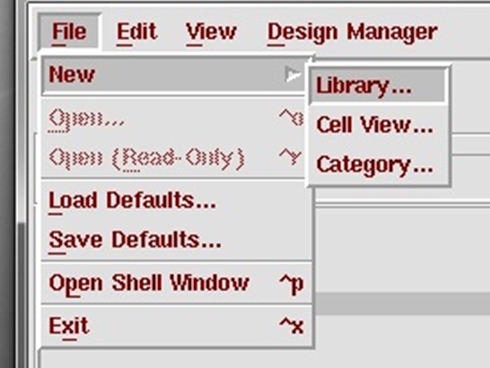
- Create a new library by clicking File → New → Library (in either the Library Manager window or the icfb window) and name it anything you want, (e.g. ece 4220).
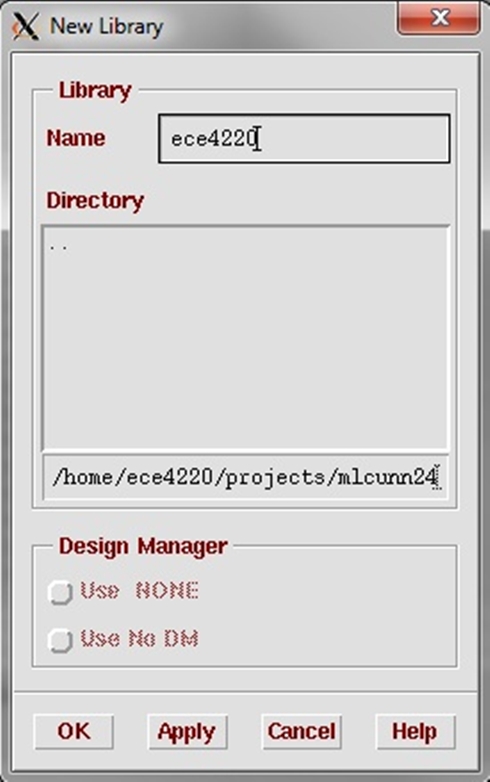
- If you created the library from the icfb window, then continue to the next step before selecting OK.
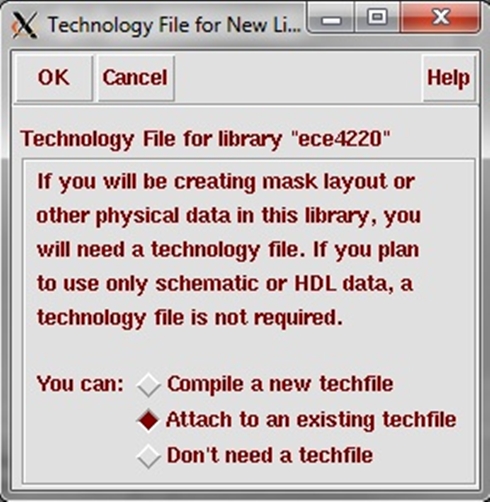
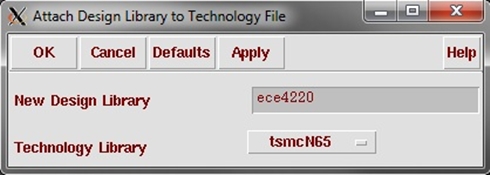
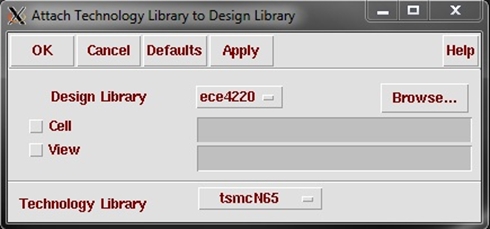
- In the next window, choose "Attach to an existing techfile". A new window will appear. Select tsmcN65 from the dropdown menu next to "Technology Library".
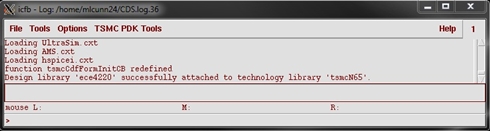
NOTE: If you get an error shown in the icfb window, please see someone for permission to access TSMC65nm PDK.
- If you forgot to attach the technology file, you can do it by going to the icfb window and choosing Tools → Technology File Manager...→ Attach. Select your design library and attach the correct technology file.
Create a Cell View/ Schematic
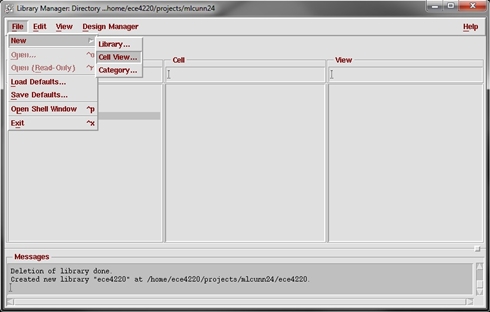
- Now, you should be able to see the "ece4220" library (or whatever you named it) on the list of libraries in the Library Manager. Next, select this library so it's highlighted in the Library Manager and click on File → New → Cell View in the menu bar. You can also do this through the icfb window (you will select the design library in the next window if you use this method).
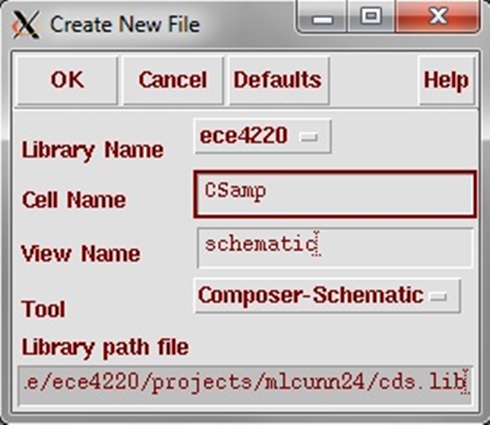
- A "Create New File" dialog-box will appear. Type in a new Cell Name (e.g. "CSamp"). Make sure that "View Name" is schematic, "Tool" is select as Composer-Schematic, and "Library Name" is "ece4220" (or whatever you named it). Select OK and a Virtuoso Schematic Editing window will open up.
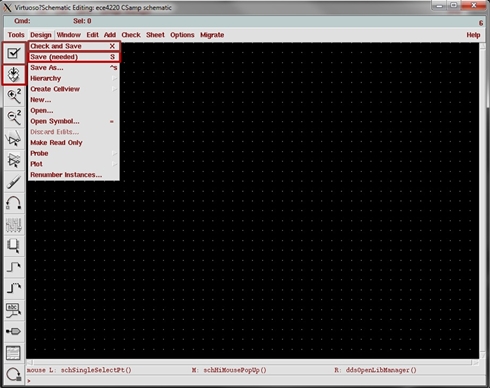
- Make sure you save the schematic before closing using one of the methods below:
Save:
1. Press "Shift + s".
2. Selecting the 3D box icon.
3. Select Design → Save from the toolbar.
Check and Save:
1. Press "Shift + x".
2. Selecting the checkbox icon.
3. Select Design → Check and Save from the toolbar.

MICS IAP Members


